I'm really slacking on my how-to Tuesday posts, so here, at long last, is a new one. I recently had to explain to my brother over the phone how to separate eggs, and I realized that it's a bit difficult to describe verbally. So here is a visual tutorial on how to separate eggs. Basically, you break an egg in half and pass the yolk from one half of the shell to the other until the sticky, snot-like whites have fallen into a bowl and all that is left in the shell is the yolk. Getting the hang of this takes some practice (and even with years of practice, my technique is not refined), but there is no need to buy a special tool in order to separate eggs.
Showing posts with label How To. Show all posts
Showing posts with label How To. Show all posts
Tuesday, April 2, 2013

Tuesday, December 11, 2012
How-to Tuesday: How to Make Meringue
This post is for you, Rebekah. Because you're so bossy, you made me do it.
Ok, ok. Actually, you asked me what "soft meringue" means, which inspired me to write this post. Then you reminded me to post it recently because I'm admittedly a slacker at blogging. But I can't give you credit for everything - it was my clever idea to take a "Three Bears" approach to this post. The idea here is to show you what meringue looks like in three states of being - too soft, just right (soft peaks), and too hard (stiff peaks, which are actually appropriate for many recipes, thereby ruining my children's book analogy, but I'm sticking with it).
You need eggs, vanilla extract, and sugar (superfine baker's sugar works the best, but regular granulated sugar is ok too; we're not all bakers!).

First, separate 3 eggs. Typically, with cream pies, the yolks go in the filling and the whites can be set aside for the meringue.

Turn your mixer on high (7 or 8 on the amazing KitchenAid) and slowly add 1/2 a cup of sugar.
Then add 1/2 a teaspoon of vanilla as it mixes. I kept a timer going as I mixed this. There is no set amount of time before it sets up properly; just keep an eye on it. After about 3 minutes, it looked like Elmer's glue. Obviously, it was too soft.


Too soft:

So I kept mixing it for an additional 3 minutes, until it looked like the dollop seen below. That is a soft peak. It is akin to marshmellow fluff, perhaps slightly softer. It will form a peak when you press a knife against it or touch it with your finger, but the peak will collapse slightly when you let go.

Then I turned the mixer on high for an additional three minutes until it formed stiff peaks. This is more akin to whipped cream in terms of how it holds its shape. A stiff peak will not collapse when you touch it with a knife.

Here they are side by side:

Meringue:
3 egg whites
3/4 cup of superfine baker's sugar
1/2 teaspoon vanilla extract
Separate eggs and place egg whites in a stand mixer or bowl if using a hand mixer. Beat on medium-high to high speed (I worked my way up from 6 to 8 on the KitchenAid mixer) until it starts to thicken. Keep watching and checking periodically once it appears the meringue is thick and can be scooped without falling flat. This can take anywhere from 3 to 10 minutes depending on the speed of your mixer. There is no correct amount of time. Press the flat side of a knife against the meringue and lift it away to form a peak. If a peak forms but collapses slightly, you have made soft peaks; if a peak forms and holds its shape completely, you have made stiff peaks.
Separate eggs and place egg whites in a stand mixer or bowl if using a hand mixer. Beat on medium-high to high speed (I worked my way up from 6 to 8 on the KitchenAid mixer) until it starts to thicken. Keep watching and checking periodically once it appears the meringue is thick and can be scooped without falling flat. This can take anywhere from 3 to 10 minutes depending on the speed of your mixer. There is no correct amount of time. Press the flat side of a knife against the meringue and lift it away to form a peak. If a peak forms but collapses slightly, you have made soft peaks; if a peak forms and holds its shape completely, you have made stiff peaks.
Tuesday, October 30, 2012
How-to Tuesday: Cooking Pie Pumpkins
Because I don't spend enough of my free time thinking about pie, I'm launching a new feature on my blog: How-to Tuesdays! My cleverness knows no bounds.
I realize this whole blog is a how-to blog, but the idea behind this feature is to show all five of you readers how to do the seemingly basic but often complicated essentials. I have already written one post describing how to peel peaches. I have some basic how-to ideas queued up (how to make meringue; how to make a lattice crust; how to separate egg yolk from egg white) and some more advanced ideas (how to barter with pies; how to be prepared to bake a pie at the last minute for an apology/forgotten birthday/funeral/bribe; how to use pies and a wannabe witty blog in order to score lovely baking accessories from friends and family members).
Having already admitted I'm a failure at blogging, I can assure you this won't be a weekly installment. But I hope you will send me ideas - things you see in cookbooks that you don't understand or that you don't want to waste time trying, questions you have about all things pie related, etc. I have experienced a lot of baking failures over the years, as doubtless will continue, so I might as well document it for the benefit of people who read blogs at work.
So here is the first How-to Tuesday post - How to Cook Pie Pumpkins. This takes minimal effort and is definitely worth it; pumpkin pie is so much better with fresh pumpkins.
Pie pumpkins come in a variety of sizes. The pumpkins in the back of this picture are on the large side, and the pumpkins in the front are the smallest pie pumpkins I've ever seen:
Pie pumpkins come in a variety of sizes. The pumpkins in the back of this picture are on the large side, and the pumpkins in the front are the smallest pie pumpkins I've ever seen:

 |
| Tiny! |
First, pierce the pumpkin all the way to the center in five or six places. One medium pumpkin is enough for 2 pies, containing about four cups of pulp.

Then place the pumpkins in a 350-400 degree oven. If your pumpkins are like the tiny ones above, they will only need about 40 minutes at 350 because you don't want them to become mushy. The pumpkins shown above are large - roughly 7 inches across, and I baked them at 375 for an hour. No matter what size they are, check them after 40 minutes and every 10 minutes after that. A knife should easily pierce all the way through to the center of the pumpkin at the top, in the middle, and at the bottom.
Once it is cool enough to handle, cut around the stem, then cut the pumpkin in half. Scrape out the seeds and dark, slimy strings with a fork.

You can easily cut the pulp out or peel it away from the skin. It's stringy, but don't worry about that. It will get smooth in the food processor.

See how it can easily be scooped, but it's not overcooked?


My dad makes perfect pumpkin pies, and he prefers to microwave the pumpkins. He says to pierce the pumpkin 5-6 times all the way to the center and break the stem off (if you have the upper body strength or available male to do this), then microwave on high for five minutes. Then flip it over and microwave another five. Continue flipping it every five minutes. Depending on the size of the pumpkin, this can take 10 or even 20 minutes.
Store the cooked pumpkin in an air-tight container. If you plan to use the pumpkin throughout the winter, fill freezer bags and press out all the additional air before freezing. The pumpkin will keep like this for months in the freezer.
Store the cooked pumpkin in an air-tight container. If you plan to use the pumpkin throughout the winter, fill freezer bags and press out all the additional air before freezing. The pumpkin will keep like this for months in the freezer.
Saturday, June 30, 2012
How to Peel Peaches
This is the easiest way to peel peaches, and it preserves all of the delicious peach flesh. Because peaches are so delicate and juicy, this method is superior to using a knife.
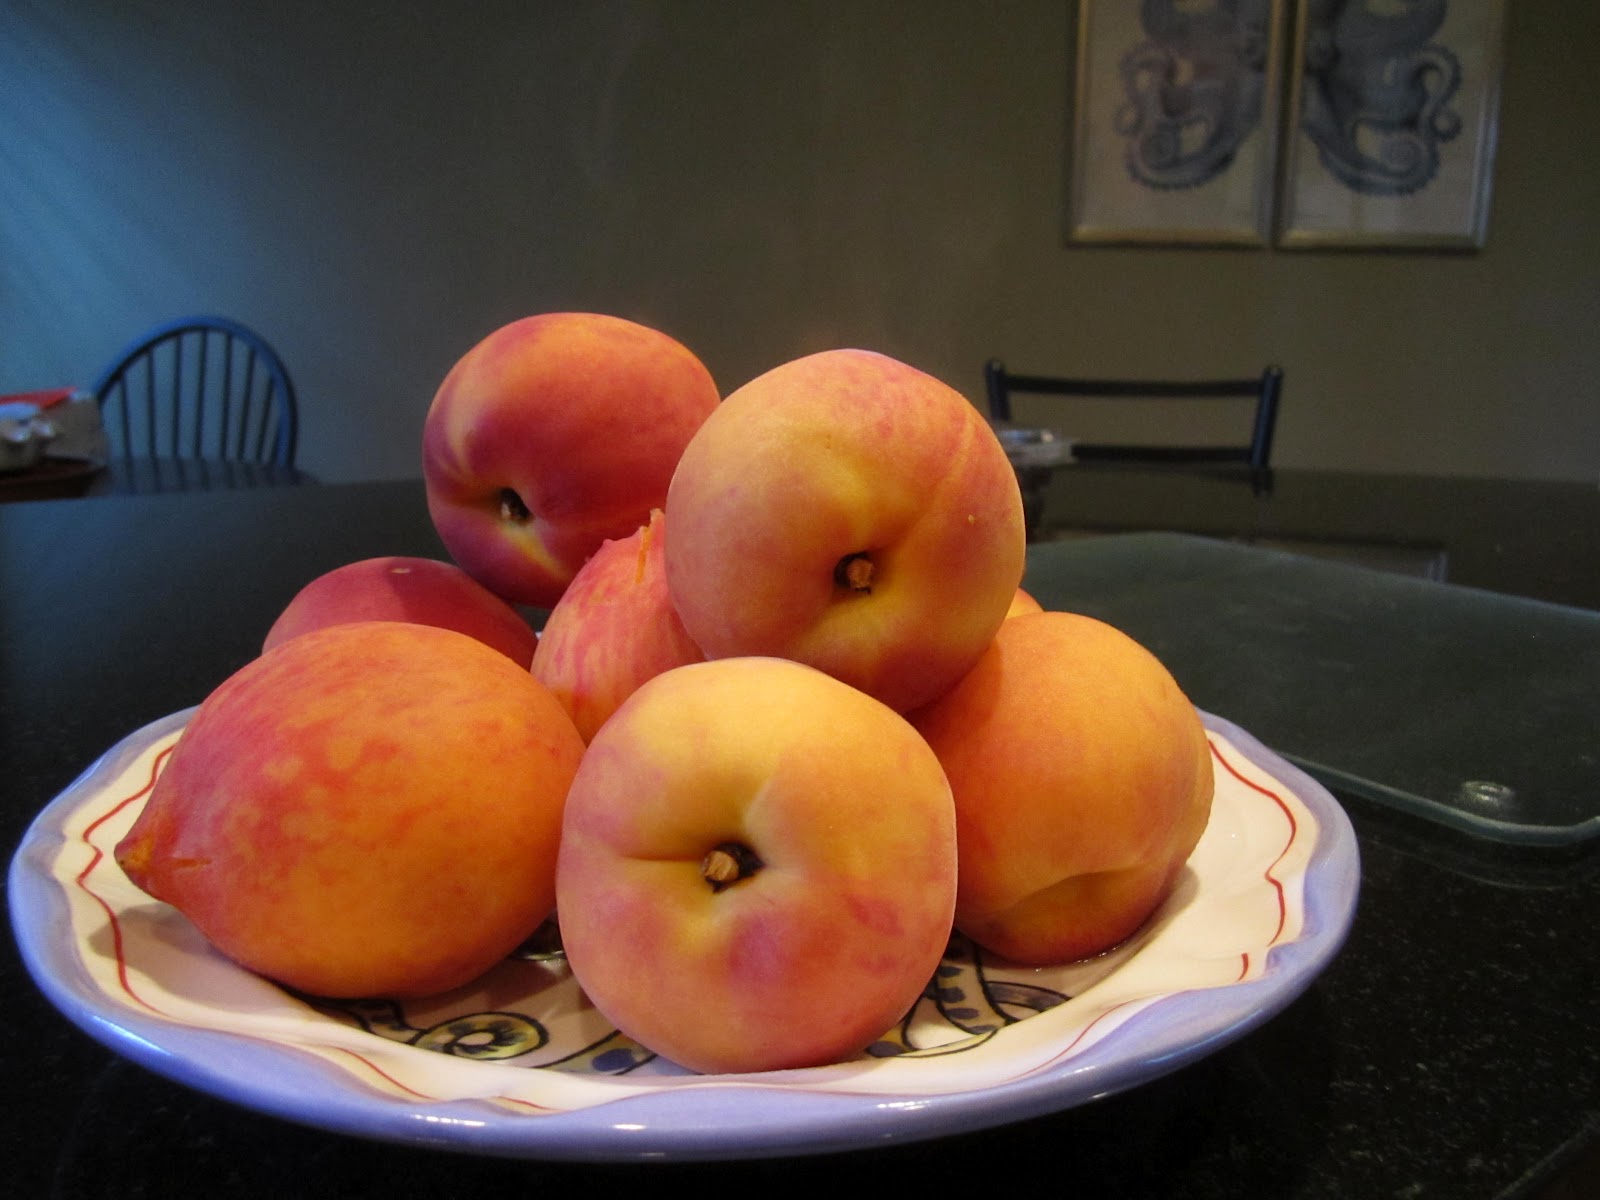
First, cut an X on the bottom of the peach that is about an inch wide and not very deep.


Then let the peaches cool a bit.
The skin will peel right off.


 It's as easy as that!
First, cut an X on the bottom of the peach that is about an inch wide and not very deep.


Then blanch the peaches for about 30 seconds.

A pasta server is the perfect tool to remove the peaches from the boiling water.

Then let the peaches cool a bit.
 |
| See the steam coming off them? |
The skin will peel right off.


Subscribe to:
Posts (Atom)